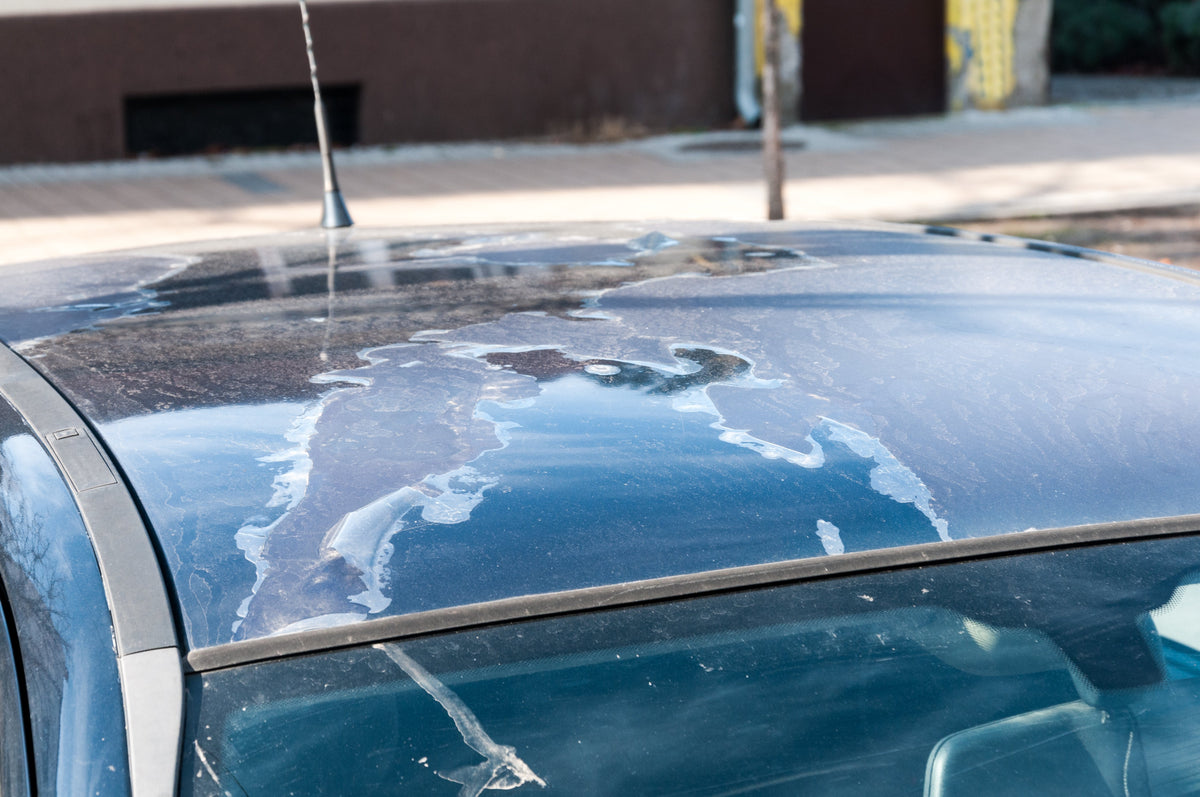
Removing window tint can be a tricky process, and if not done correctly can cause permanent damage to your windows. Fortunately, there is now a step-by-step guide to removing brittle window tint like a pro!
This guide will show you how to safely remove the window tint without risking any further damage. It also provides tips on how to ensure that the job is done properly and efficiently. Follow this guide for the successful removal of your old window tint and get back those crystal-clear windows!
Gather Necessary Supplies
Removing window tint can be an intimidating task for a novice. However, with the right supplies and knowledge, it is possible to accomplish this job like a pro. The first step to remove brittle window tint is to gather the necessary materials.
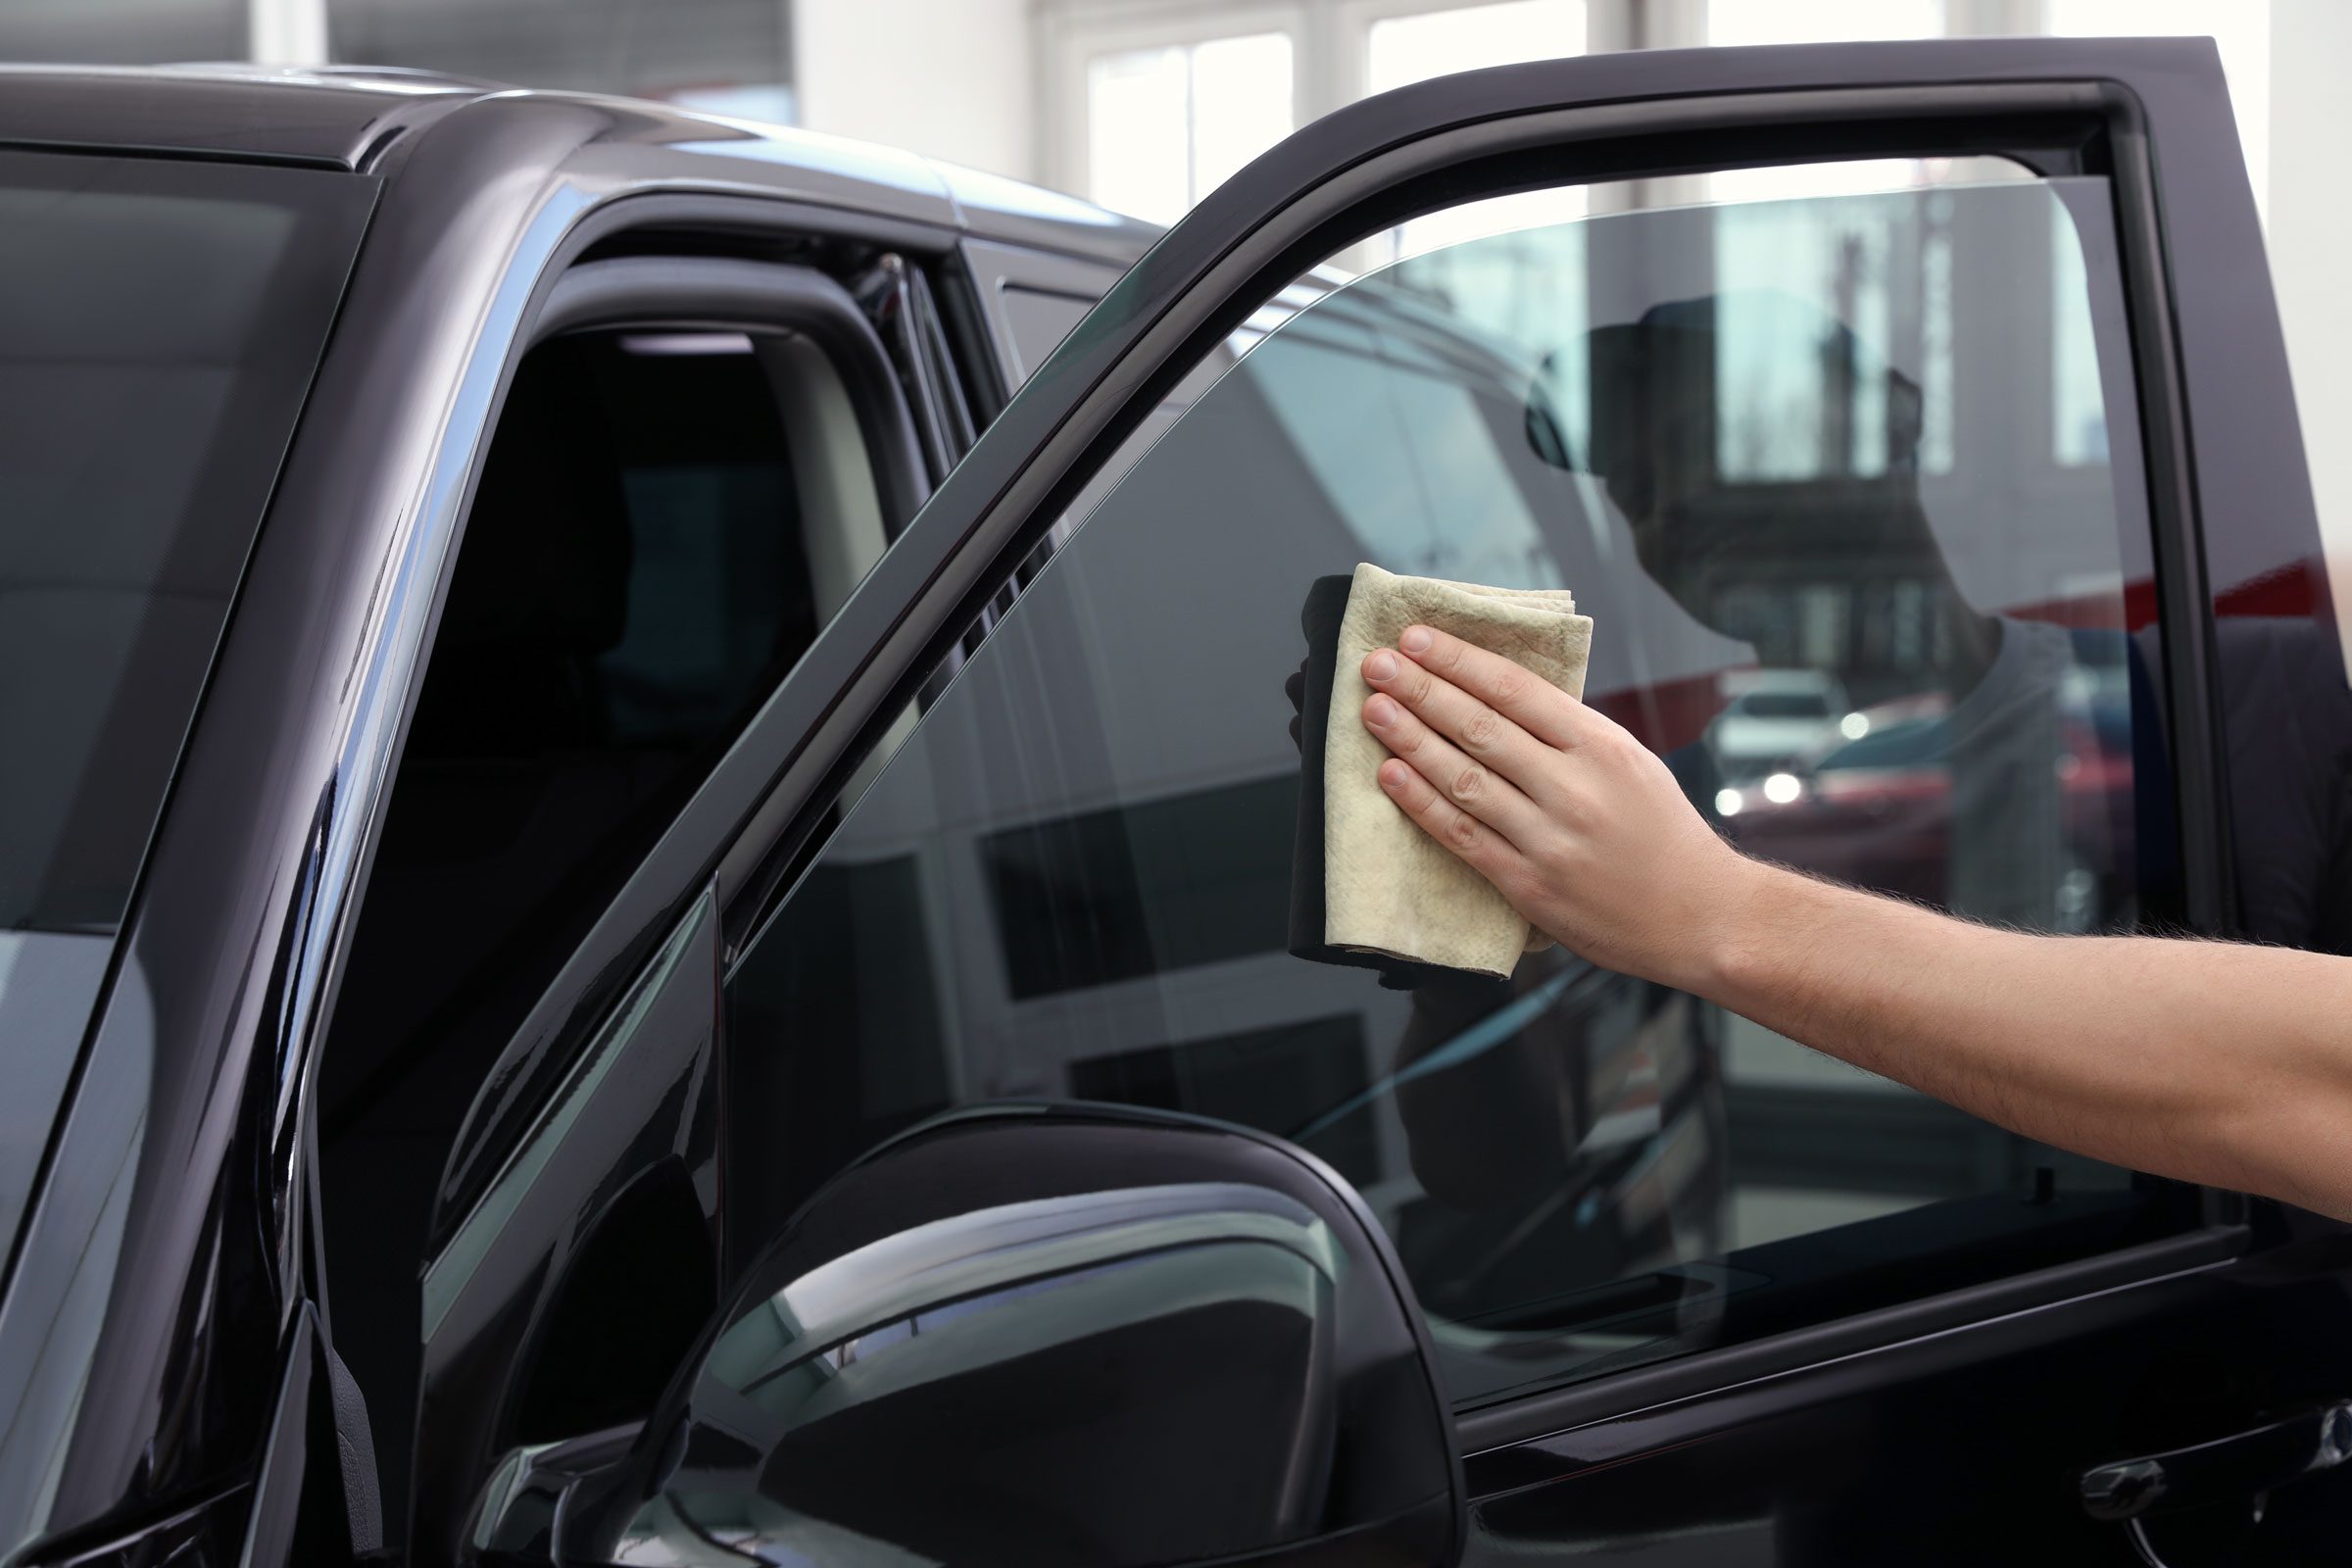
You’ll need plastic razor blades (which are less likely to scratch surfaces), ammonia-free glass cleaner, paper towels or microfiber cloths, masking tape, and rubbing alcohol mixed with water at a 1:1 ratio in a spray bottle.
Additionally, you may want gloves as well as safety glasses for extra protection against flying pieces of film during the removal process. With all these items ready at hand you will soon have your windows looking good as new!
Prepare the Vehicle and Glass for Removal
Before tackling the removal process, it is important to prepare both vehicle and glass for a successful outcome. Begin by cleaning the window of any dirt or debris that may hinder your progress. Next, use an adhesive remover on the perimeter of each window as well as along any remaining pieces of tint film to ensure that all residue will easily come off during removal.
If you are working with newer vehicles, be sure to check if there are any sensor wires behind the windows before beginning; taking extra precautions can help protect against potential damage caused by forceful scraping during removal.
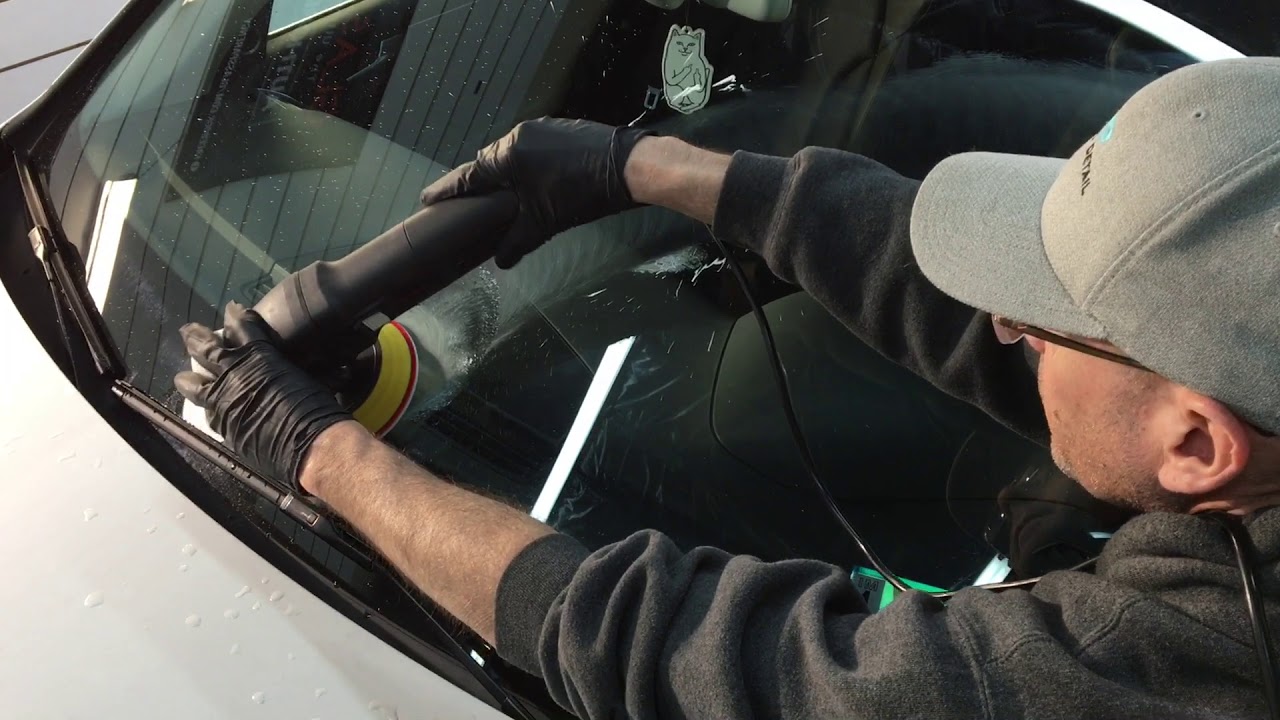
Finally, apply a generous amount of heat from either a hair dryer or heat gun across each window for about 10 minutes before beginning work to soften up stubborn areas and make them easier to remove. With all these steps complete, you’re ready for removing brittle window tint like a pro!
Start Peeling Away the Window Tint Film
Removing window tint can be a tricky process but with the right tools and techniques, it’s possible to peel away brittle film like a pro. Before starting, make sure you have all of the necessary equipment on hand including rubber gloves, razor blades, and scrapers.
Then start by peeling back an edge of the window tint film using your blade or scraper. This should create enough slack in the material for you to begin slowly pulling away at it from one corner to another.
As you pull make sure that any leftover adhesive is being removed as well until all of the remaining tints have been taken off completely. With patience and care, following these steps will ensure that your windows are free from old brittle window tints like a professional!
Remove Any Remaining Adhesive Residue
Once you have removed all of the window tints, it is important to remove any remaining adhesive residue. This can be done by cleaning the surface with a soft cloth and warm soapy water or a diluted solution of rubbing alcohol.
For stubborn residue, use an appropriate solvent such as mineral spirits or paint thinner and apply directly to the affected area using a clean cloth until all traces of adhesive are gone.
Be sure to rinse off any cleaners used afterward to protect against damage from harsh chemicals. If there are still patches of adhesive after these steps, try scraping them away gently with a razor blade for the best results. Now your windows will look like new!
Clean Up and Reapply New Window Tint
Removing brittle window tints can be a daunting task, but with the right tools and instructions, it is possible to successfully clean up and reapply new window tints. It’s important to start by properly preparing the windows for the removal of the old film.
Begin by cleaning the surface using a quality glass cleaner; this will help ensure that any residue from previous applications does not interfere with your new tint job. Then, use an adhesive remover or razor blade to carefully scrape away at the existing film until all of it has been removed.
Once complete, wash down the windows one more time before beginning the installation of your new window tint. Installing fresh window film requires patience and precision as you must lay out each piece according to the manufacturer’s specifications while avoiding air bubbles or wrinkles to achieve optimal results. Taking extra care during installation will guarantee that you have achieved a streak-free look once finished!